
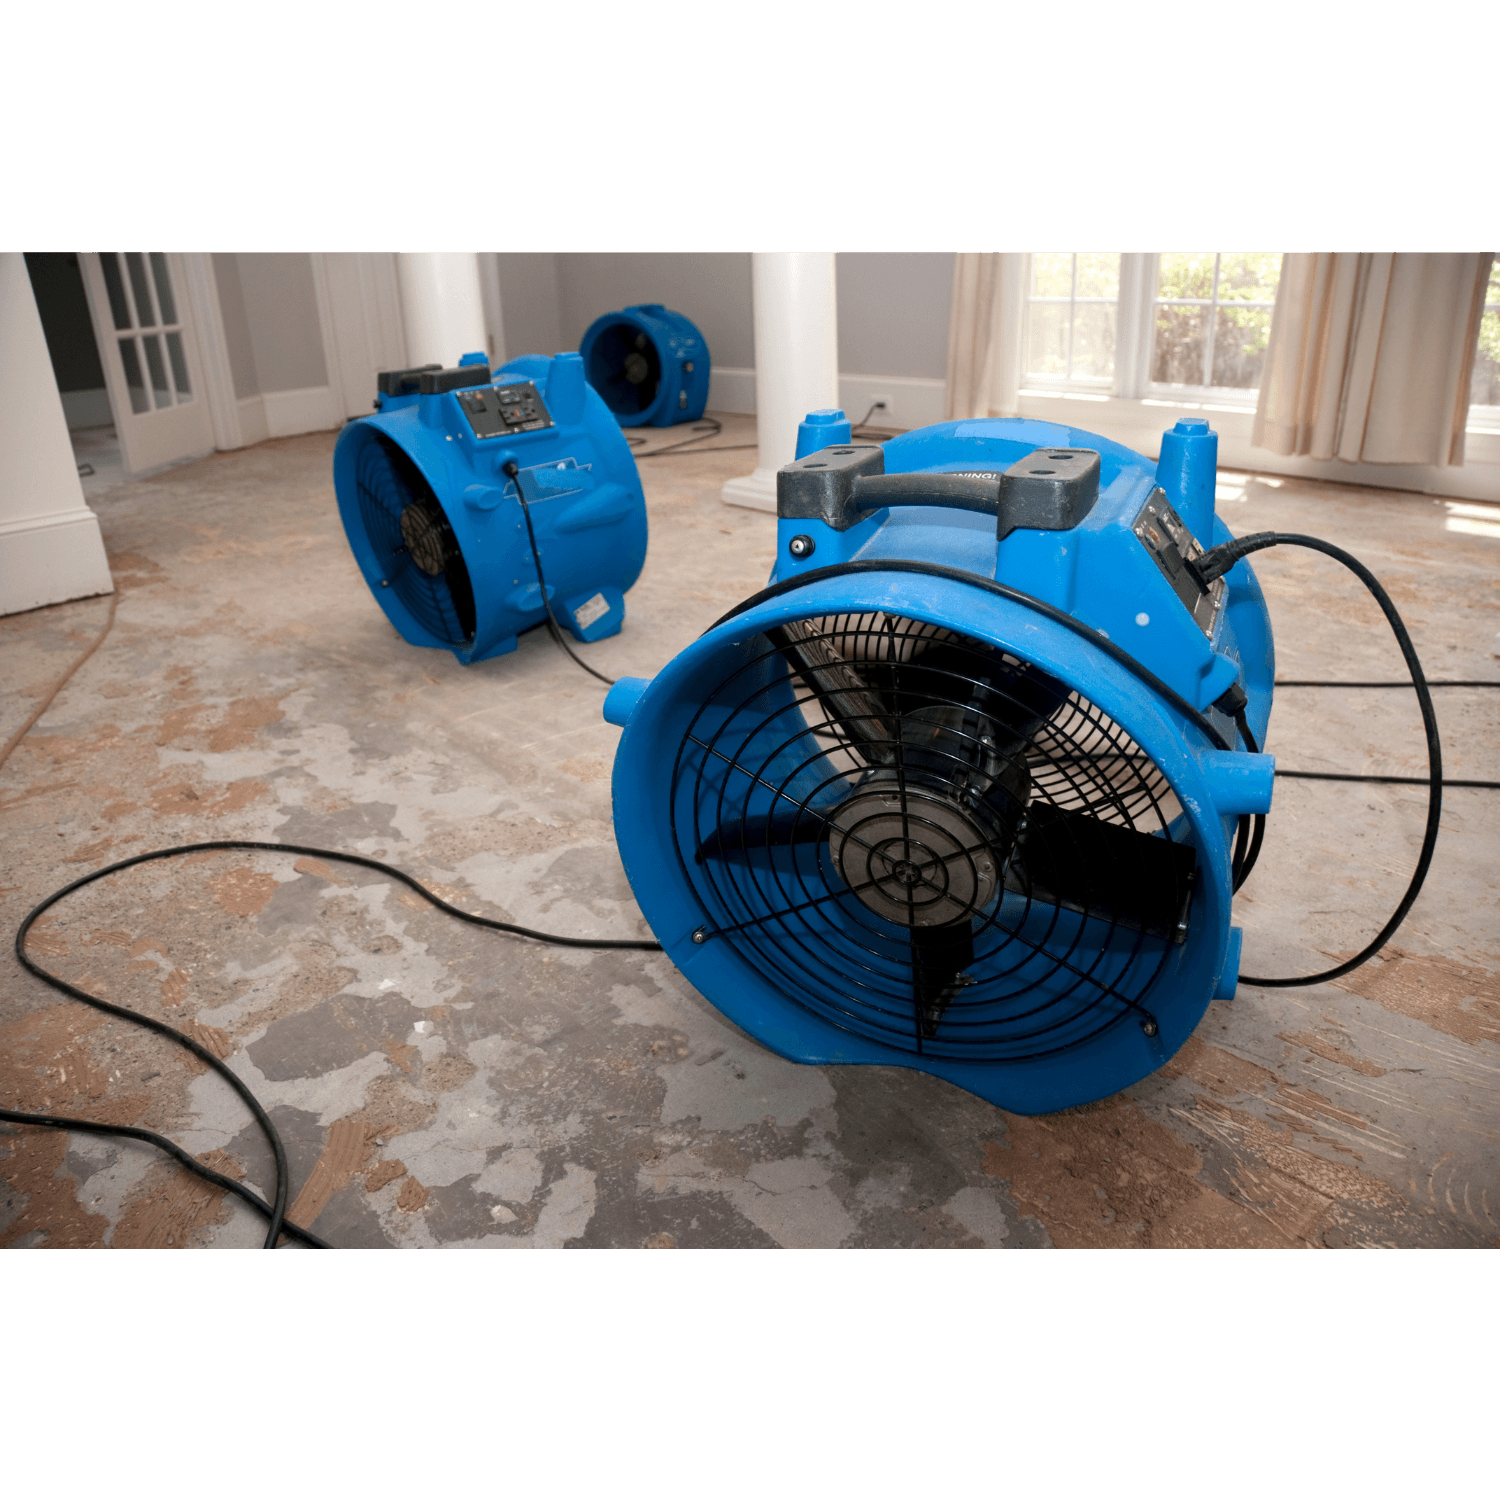
Water damage is one of the few home emergencies where the first few hours determine the final outcome more than anything that follows. Mold can begin developing within 24 to 48 hours of water exposure under the right conditions. Structural materials that dry thoroughly within 72 hours typically recover. Those that stay wet usually don't.
Step 1: Safety First
Before entering any space with standing water, confirm the power to that area is off at the breaker. Water and live electrical circuits is an immediate hazard — if you can't safely cut power, stay out. Also check ceilings: a sagging ceiling means water has accumulated above it and can collapse. Don't stand underneath it.
Step 2: Stop the Source
Identify where the water is coming from and stop it. A burst supply line can usually be shut off at the fixture valve or the main. A failed appliance has a dedicated shutoff. A roof leak can't be stopped, but containing it with buckets and moving belongings out of the path limits secondary damage.
Step 3: Document Before You Move Anything
Insurance adjusters work from evidence. Photograph and video every affected surface — walls, floors, ceilings, contents — before you move or remove anything. This documentation is often the difference between a fully paid claim and a dispute over what was actually damaged.
Note the source. Adjusters and restoration contractors use three water categories that affect scope and cost:
- Category 1 — Clean water: supply lines, rain entering through roof or windows
- Category 2 — Gray water: washing machine or dishwasher overflow, sink overflow, aquarium
- Category 3 — Black water: sewage backup, flooding from rivers or groundwater
Category 3 is a biohazard and requires professional handling. Don't wade through it.
Step 4: Remove Standing Water
For Category 1 and 2 water, remove standing water as quickly as possible. Wet/dry vacuums handle small volumes. Larger flooding requires a submersible pump or professional extraction equipment. Do not use a standard household vacuum — they're not rated for wet use and present a shock hazard.
Step 5: Move What You Can
Furniture sitting in water wicks moisture upward into framing, cushions, and fabric. Move it off wet surfaces. Lift rugs — a wet area rug sitting on hardwood or subfloor for hours causes significant secondary damage. Remove wet items from closets and cabinets in the affected area.
Step 6: Start Air Movement — Carefully
Airflow accelerates evaporation. Point fans at wet surfaces and run them continuously. Open windows only if outdoor humidity is lower than indoor — in a New England summer, this often isn't the case. Check the outdoor dewpoint; if it's higher than your indoor temperature, keep the windows closed and run a dehumidifier instead.
Do not run your HVAC system if water has reached the ductwork, or if Category 2 or 3 water has spread through the returns. You'll distribute contamination throughout the system.
Step 7: Call Your Insurer and a Restoration Contractor
Report the claim promptly — most policies require notice within a reasonable time, and delay can affect coverage. A qualified restoration contractor will use moisture meters and thermal imaging to find all the water, including what's inside walls and under flooring. Drying to acceptable moisture content across all affected materials is the actual goal — and it takes monitoring over multiple days, not a visual inspection.
NERD responds to water damage emergencies 24/7. We document moisture readings, create a drying plan to IICRC S500 standards, and provide full insurance documentation.
Water Damage Remediation →